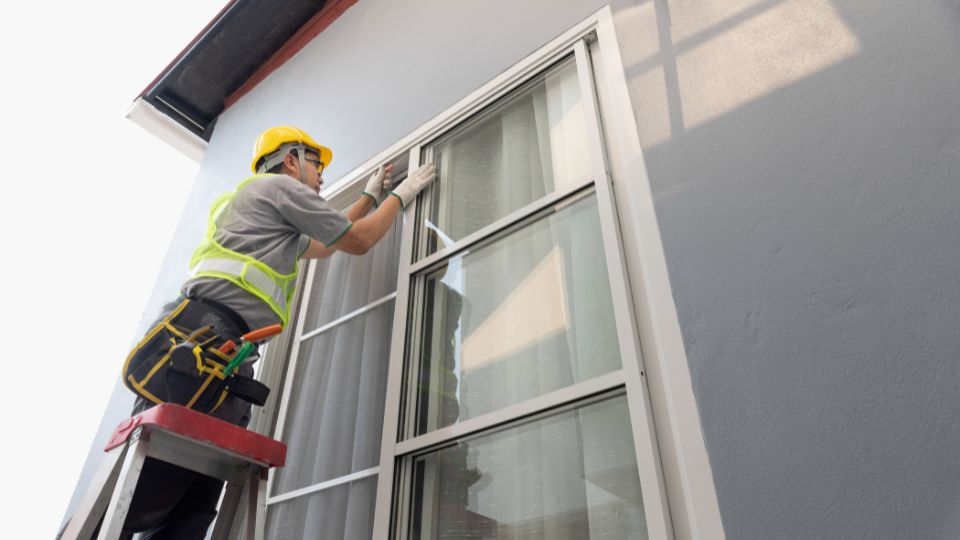
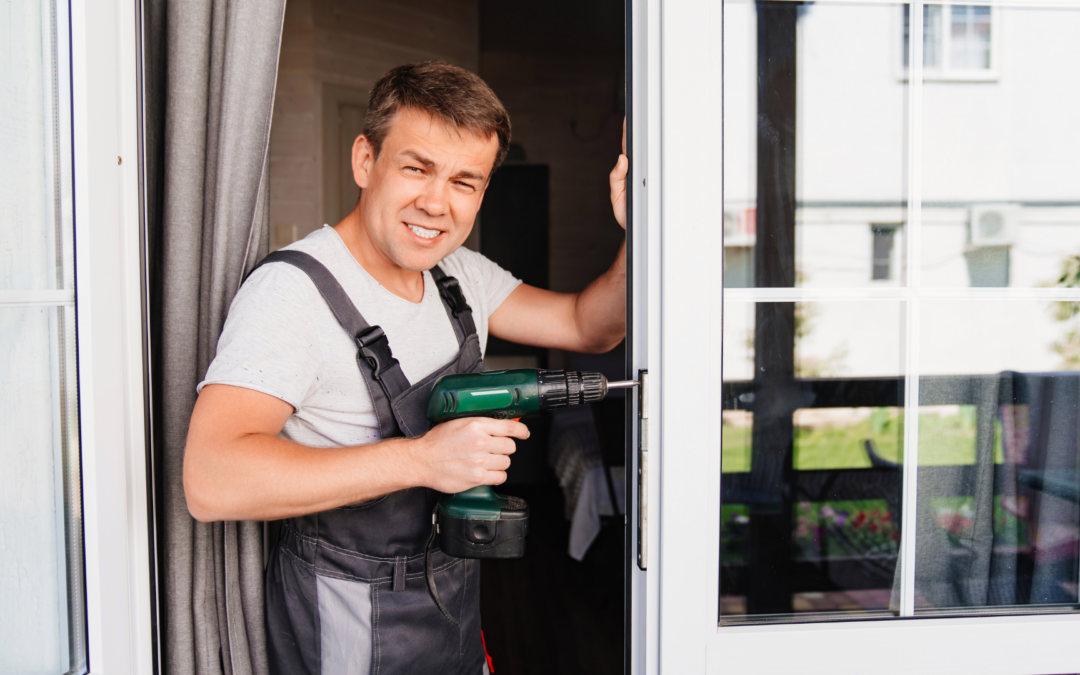
Replacing a door in Marana is a straightforward process that can refresh the look of your home. Start by measuring the existing door to ensure you get the right size replacement. Remove the old door and hardware, making sure to carefully detach any hinges or locks. Install the new door, securing it with the proper hinges and hardware. Adjust the fit for smooth operation, and finish by sealing around the edges for insulation. Finally, paint or stain the door to match your home’s style, and enjoy the updated look!
Measuring Your Door for Replacement
Before you replace your door, it’s essential to measure the existing one carefully. Measure the height, width, and thickness of the door, as well as the doorframe. Accurate measurements ensure you purchase the correct replacement door, saving you time and money. Take note of the swing direction and hinge placement, as these factors can affect installation. If the door frame is damaged, consider measuring it as well to ensure the new door fits perfectly. Getting these details right from the start will make the replacement process smoother.
Accurate measurements are the foundation of a successful door replacement. To start, measure the height of your existing door from the top to the bottom, ensuring you include any frame or threshold. Next, measure the width of the door at its widest point, usually at the top or middle, to ensure the replacement fits within the frame. Be sure to check the thickness of the door, as doors come in different standard thicknesses, and this will impact the new door’s fit. It’s also important to measure the door frame itself, especially if it’s older or has been previously damaged.

Removing the Old Door
The first step in replacing a door is removing the old one. Start by unscrewing the door hardware, such as hinges, locks, and handles. Carefully detach the door from the frame, taking care not to damage the surrounding trim or the frame itself. If the door is heavy or awkward, it might help to have an extra set of hands to support it as you remove it. Once the old door is out, inspect the frame for any necessary repairs or adjustments before proceeding with the installation of the new door.
Removing the old door is a critical first step in the replacement process, and it requires careful attention to avoid damage to the frame or surrounding trim. Start by securing the door in place, ensuring it’s stable and won’t shift while you work. Begin by unscrewing the hinges with a screwdriver. Depending on the weight of the door, it may be helpful to have an assistant to hold it in place as you remove the screws. If the door is particularly heavy or large, consider removing the bottom hinge first, then working your way up to the top to keep the door balanced.
Installing New Hinges and Hardware
Installing the new hinges and hardware is a critical step in replacing a door. Start by attaching the hinges to the door frame, making sure they are level and aligned. If you’re using the same hinge placement as the old door, this process is straightforward. However, if the hinges need to be relocated, measure carefully to ensure proper alignment. Once the hinges are securely in place, install the door handle and lockset according to the manufacturer’s instructions. Proper installation of hardware ensures the door functions smoothly and securely.
Attaching Hinges to the Door Frame
Start by attaching the hinges to the door frame, ensuring they are aligned and level. This step is crucial for the door’s smooth operation. Use a level to double-check the alignment before securing the hinges with screws. If you’re reusing the same hinge placement from the old door, this process will be simple. Otherwise, measure carefully to avoid any misalignment.
Ensuring Proper Hinge Placement
If you’re relocating the hinges, accurate measurement is essential. Mark the new hinge positions on both the door and the frame, ensuring they align properly. The top hinge should be placed about 7 inches from the top of the door, and the bottom hinge around 10 inches from the bottom. Double-check measurements before drilling to prevent mistakes that could cause the door to misalign.
Installing the Door Handle
Once the hinges are in place, move on to the door handle installation. Follow the manufacturer’s instructions to ensure proper placement. Typically, the handle should be installed about 36 inches from the floor, but check for specific guidelines. Use a drill to create holes for the handle, and secure it tightly. A properly installed handle enhances both functionality and aesthetics.
Installing the Lockset
After installing the door handle, proceed with installing the lockset. Mark the correct location for the lock on the edge of the door and drill the necessary holes. Ensure the lock is aligned properly with the strike plate on the doorframe. Once the holes are drilled, insert the lockset and secure it with screws. Test the lock to ensure it functions smoothly.
Double-Checking the Hardware Installation
After installing all the hardware, double-check each component to ensure everything is secure. Make sure the hinges are tightly fastened, the handle is functional, and the lockset operates correctly. Test the door’s movement by opening and closing it a few times to confirm there are no issues with alignment. Proper installation ensures the door functions smoothly and enhances security.
Fitting the New Door into Place
With the new hinges and hardware in place, it’s time to fit the new door into the frame. Lift the door into position, aligning the hinges with the corresponding slots on the frame. It’s important to check that the door swings open and closed smoothly without resistance. If the door doesn’t fit perfectly, you may need to make slight adjustments to the hinges or trim to ensure a snug fit. Take your time to get the door positioned correctly, as this step will affect both its function and appearance.
Sealing and Insulating the Door
Once the door is installed, sealing and insulating it is crucial for energy efficiency. Use weatherstripping around the edges of the door to prevent drafts and improve insulation. Ensure that the door fits tightly within the frame to keep out the elements. If there are any gaps, use caulking or foam insulation to fill them. This not only improves comfort inside your home but also helps reduce energy costs. Proper sealing ensures that your new door provides long-lasting protection from the outside environment.
Final Touches and Finishing
The final touches are what truly complete your door replacement project. Once the door is securely in place and properly sealed, you can focus on the cosmetic details. Paint or stain the door to match the style of your home, paying attention to any finishing touches like trim or molding around the doorframe. If desired, you can also add decorative hardware or a new door knocker for extra curb appeal. These finishing touches help make your new door blend seamlessly with the rest of your home’s design.
Conclusion
Replacing a door in Marana can be a simple and rewarding home improvement project when done correctly. By following the right steps—from measuring and removing the old door to installing new hinges and hardware—you can ensure a smooth and efficient process. With the right tools and attention to detail, you’ll enjoy a perfectly fitted door that enhances your home’s security and aesthetic appeal.
At Vista Glass of Marana, we’re dedicated to providing expert door replacement services to homeowners in Marana. Our team is here to help with every step of the process, ensuring high-quality results.

